The Talent Database has a series of filters you can use for each profile type to quickly narrow down results. Then you can easily view the profiles you’re interested in:

By Location:
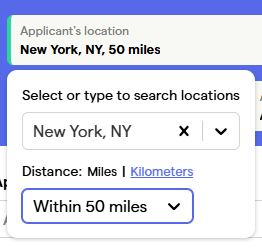
To select candidates in a particular location, select the “Location” menu — this will present a search field where you can type in and select the location of candidates. Then adjust the “Distance (miles or kilometers)” to indicate how far outside of this area you’d like to see candidates.
For example, this selection is for actors within 50 miles of New York City:
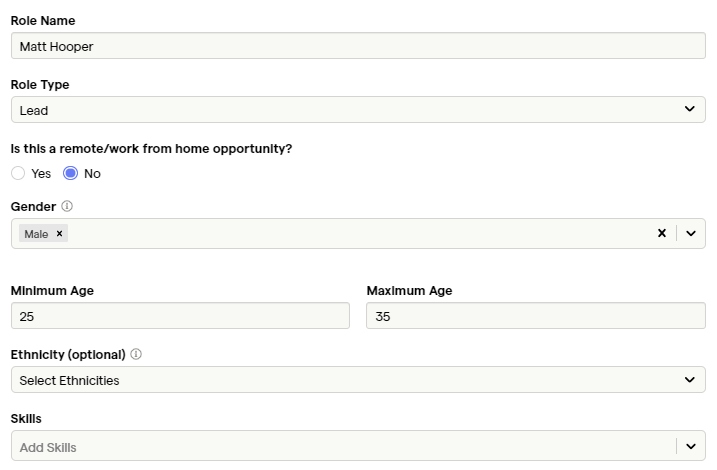
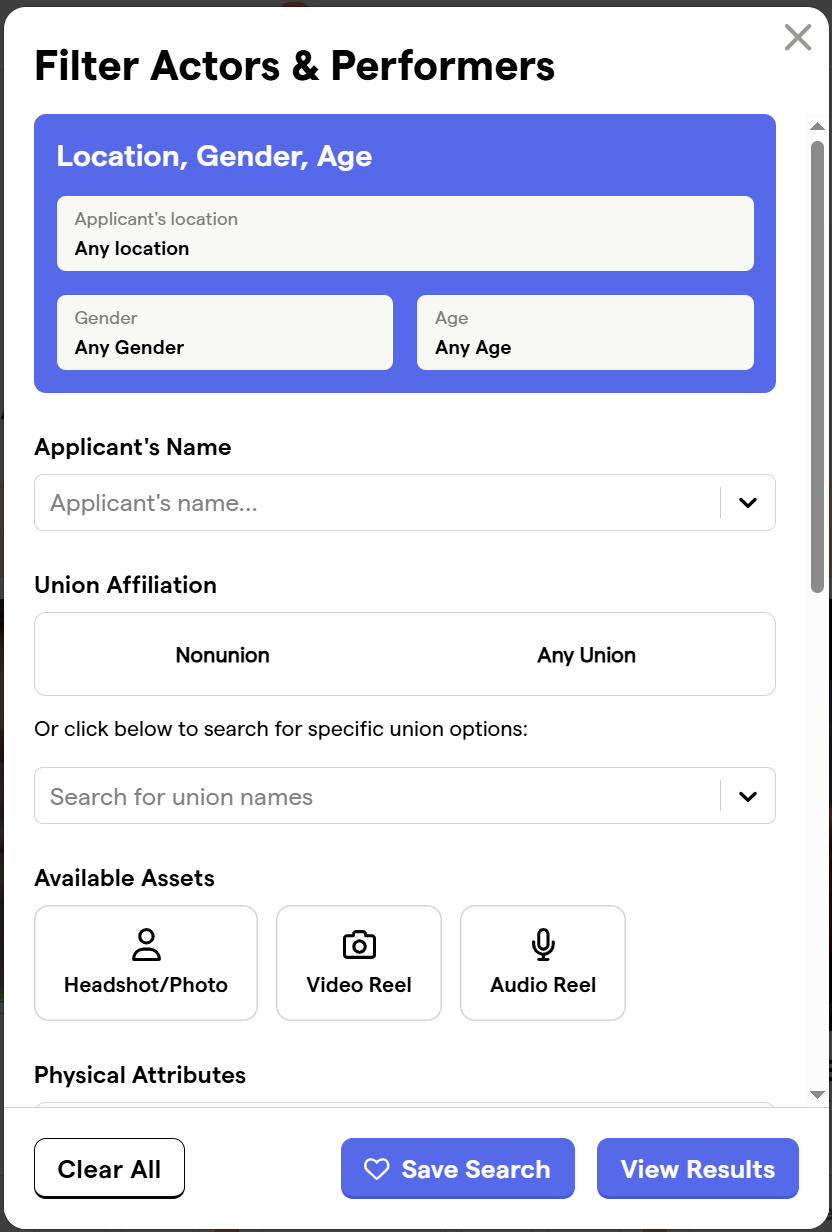
By Gender & Age (Actor & Performer, Voiceover, Content Creator Profiles)
If you’re looking for a certain type of performer you can filter by gender and the age range that they can portray.
By name:
If you happen to know the name of the actor you’re interested in, you can search for talent by name in the "Applicant's Name" search bar.
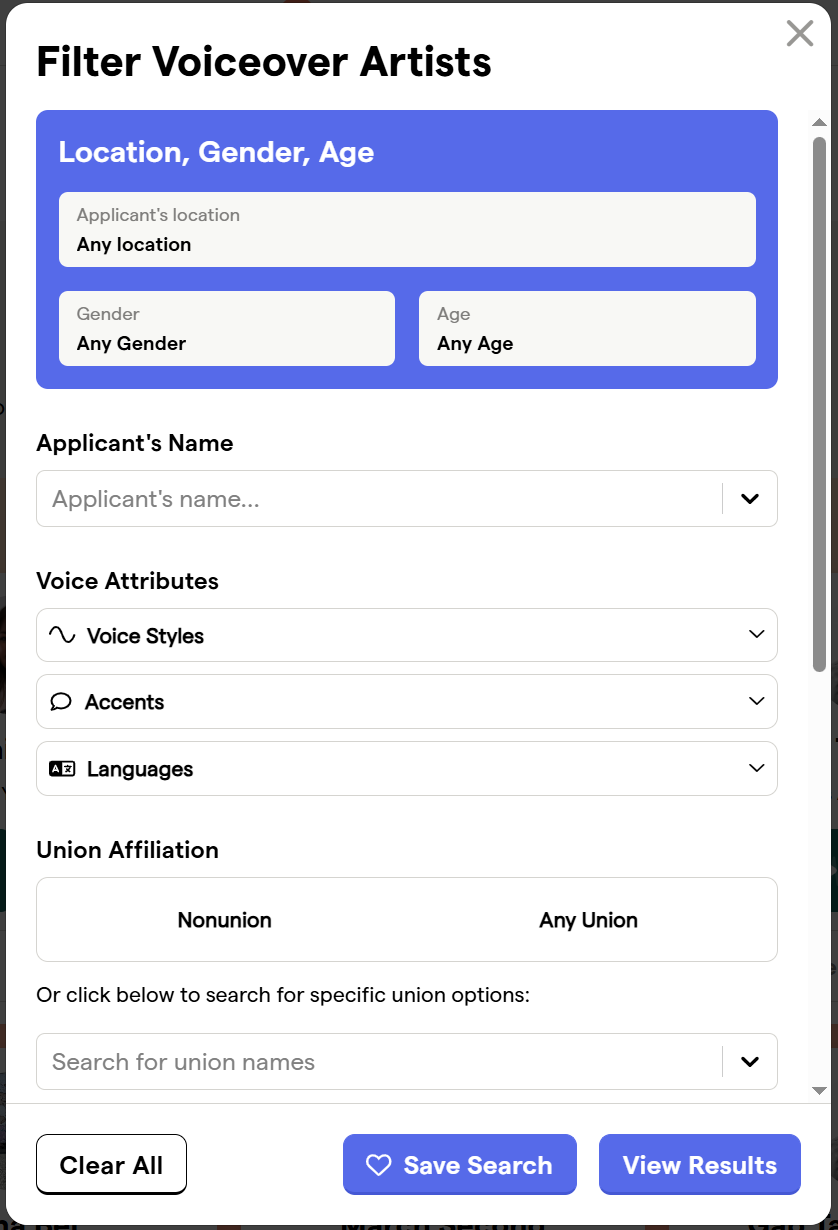
By Voice Attributes (Voiceover Profiles)
If you’re looking for a certain type of voice style, accent, or language proficiency you can filter by these specifically by typing in the criteria in the corresponding search fields.
By Union Status and Available Assets:
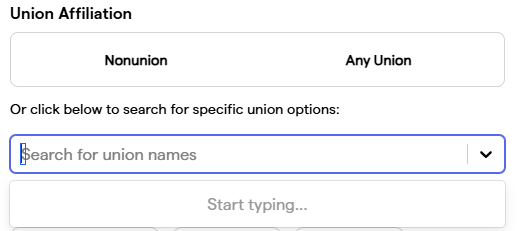
You can select union or nonunion and/or search for specific unions in the Union Options search bar:
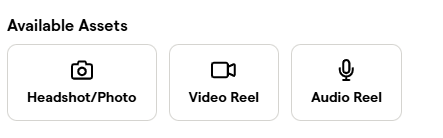
You can also filter your search by a candidate’s available assets. You can select to see results from talent with headshots, video reels, audio clips, or some combination thereof.
By Physical Attributes (Actor & Performer Profiles)
If you’re looking for a certain physical characteristics you can filter by hair color, eye color, body type, height, and more.
By Physical Attributes - Ethnicity (Actor & Performer & Content Creator Profiles)
If you’re looking for a certain physical characteristic such as ethnicity, you can select from the available options or some combination thereof in the Ethnicity drop-down.
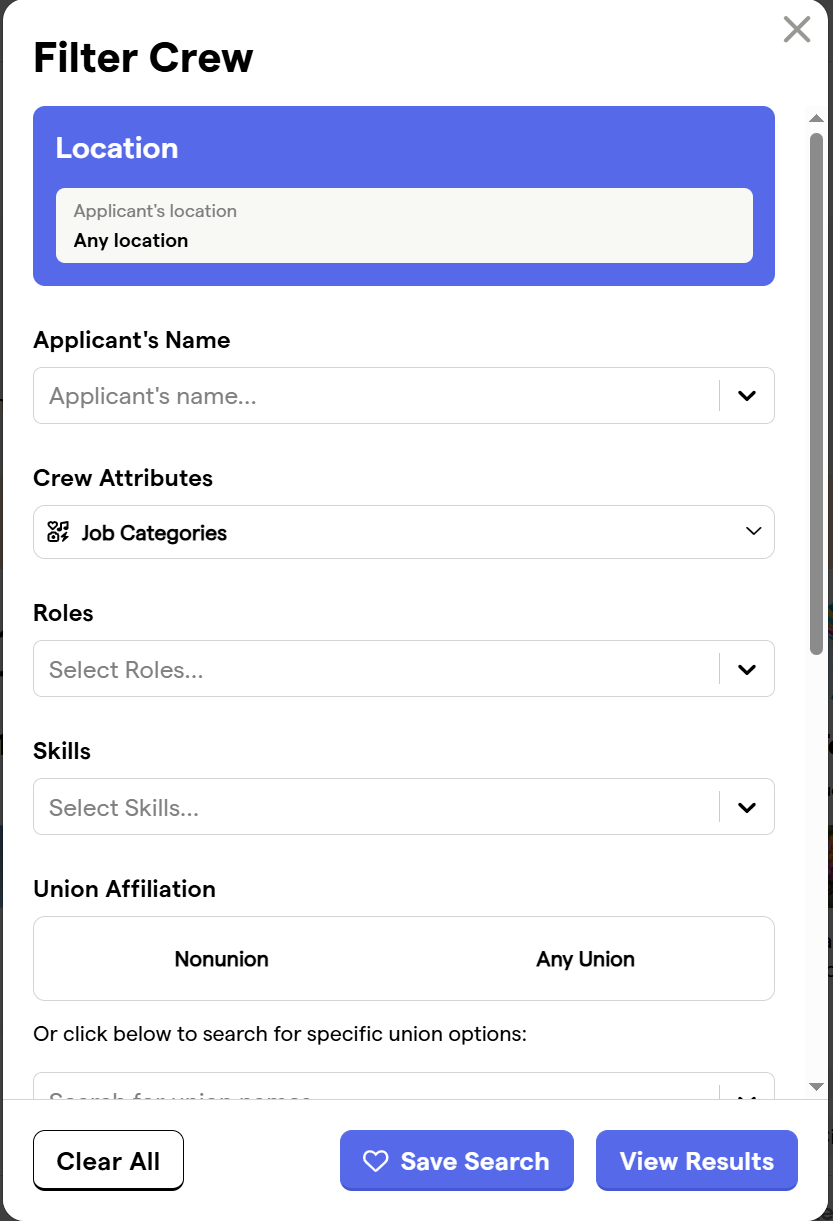
By Crew Attributes (Crew Profiles)
You can also search by job categories. Use the Job Categories search box within the filter bar to search for particular jobs, like “writing” or “directing.”
By Roles (Crew Profiles)
You can also search by roles. Use the Roles search box within the filter bar to search for particular roles, like “2nd AD” or “hair stylist.”
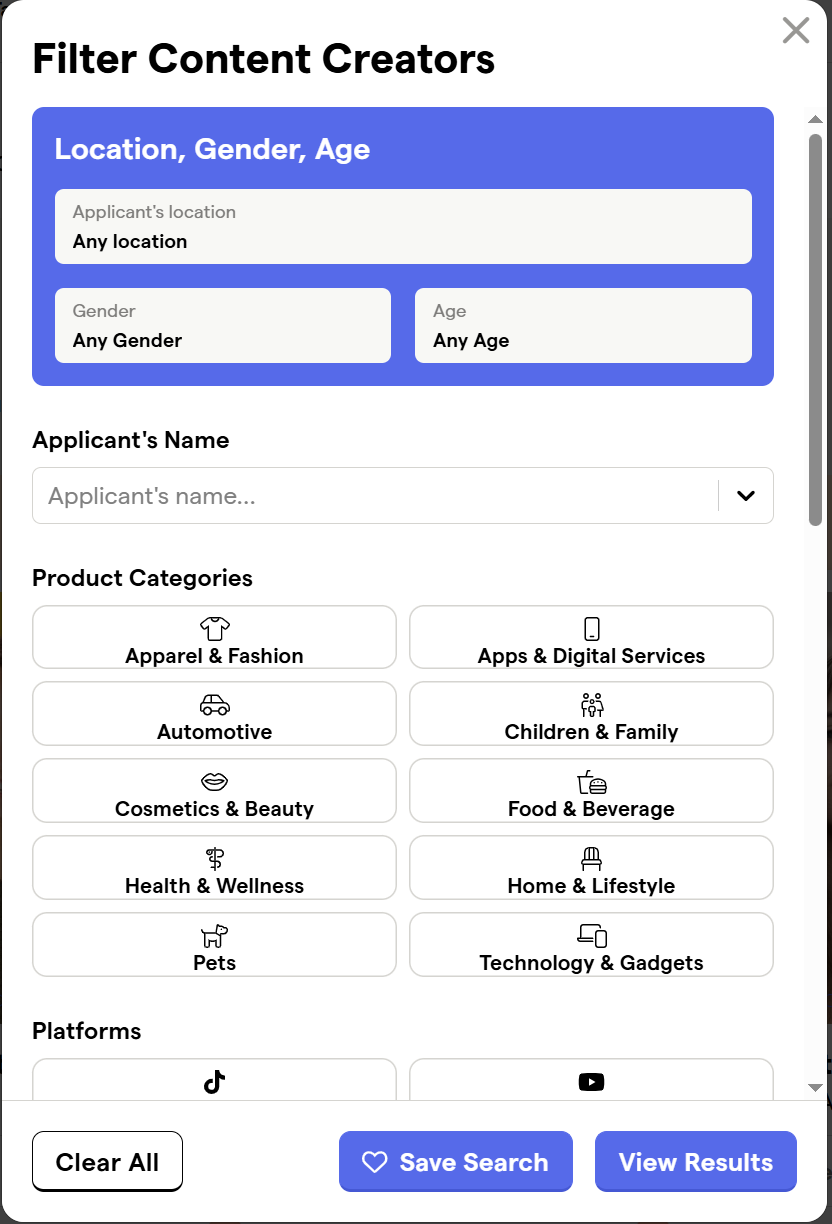
By Product Categories (Content Creator Profiles)
You can search by product categories. Filter by the type of products the talent has experience with by selecting from the available options displayed, like “Apparel & Fashion” or “Food & Beverage.”
By Platforms (Content Creator Profiles)
You can also search by platforms. Filter by the platforms the talent is using by selecting from the available options displayed, like “TikTok” or “Instagram.”
By Skills (Actor & Performer, Crew, Content Creator Profiles)
You can also search by skills. Use the Skills search box within the filter bar to search for particular skills, like “combat training” or “jazz dancing.”
By Keyword:
You can use keywords to further refine your search. Use the Keywords search box in the filter bar to add a specific keyword.
Other
Here you can filter by whether the talent has:
A passport, driver's license, self recording ability (Actor & Performer, Content Creator Profiles)
A home studio (Voiceover Profiles)
Equipment/Kits (Crew Profiles)
Applying and Clearing Filters:
Once you‘ve selected your filter criteria, click the “View Results” button at the bottom of the filters.
To reset your selections, click “Clear All”:

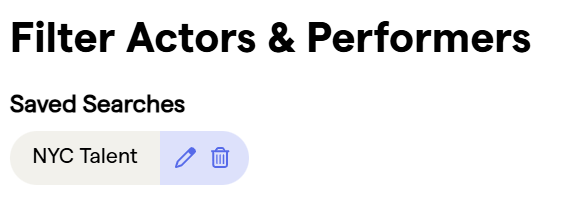
Saving Searches
Once you‘ve selected your filter criteria, viewed it, and decide you want to save the search, click the "Save Search" button at the bottom of the filters. You will then be prompted to name the search and then click "Save." You can then access the saved search at the top of the filters when in the filters for the particular talent type. To edit the title of the search or delete the search, click on the pencil or trash can icons respectively.